-
How to Create a Composite Dreamscape using two photos in Photoshop
August 4, 2017
August 4, 2017
How to Create a Composite Dreamscape using two photos in Photoshop
How to Create a Composite Dreamscape using two photos in Photoshop
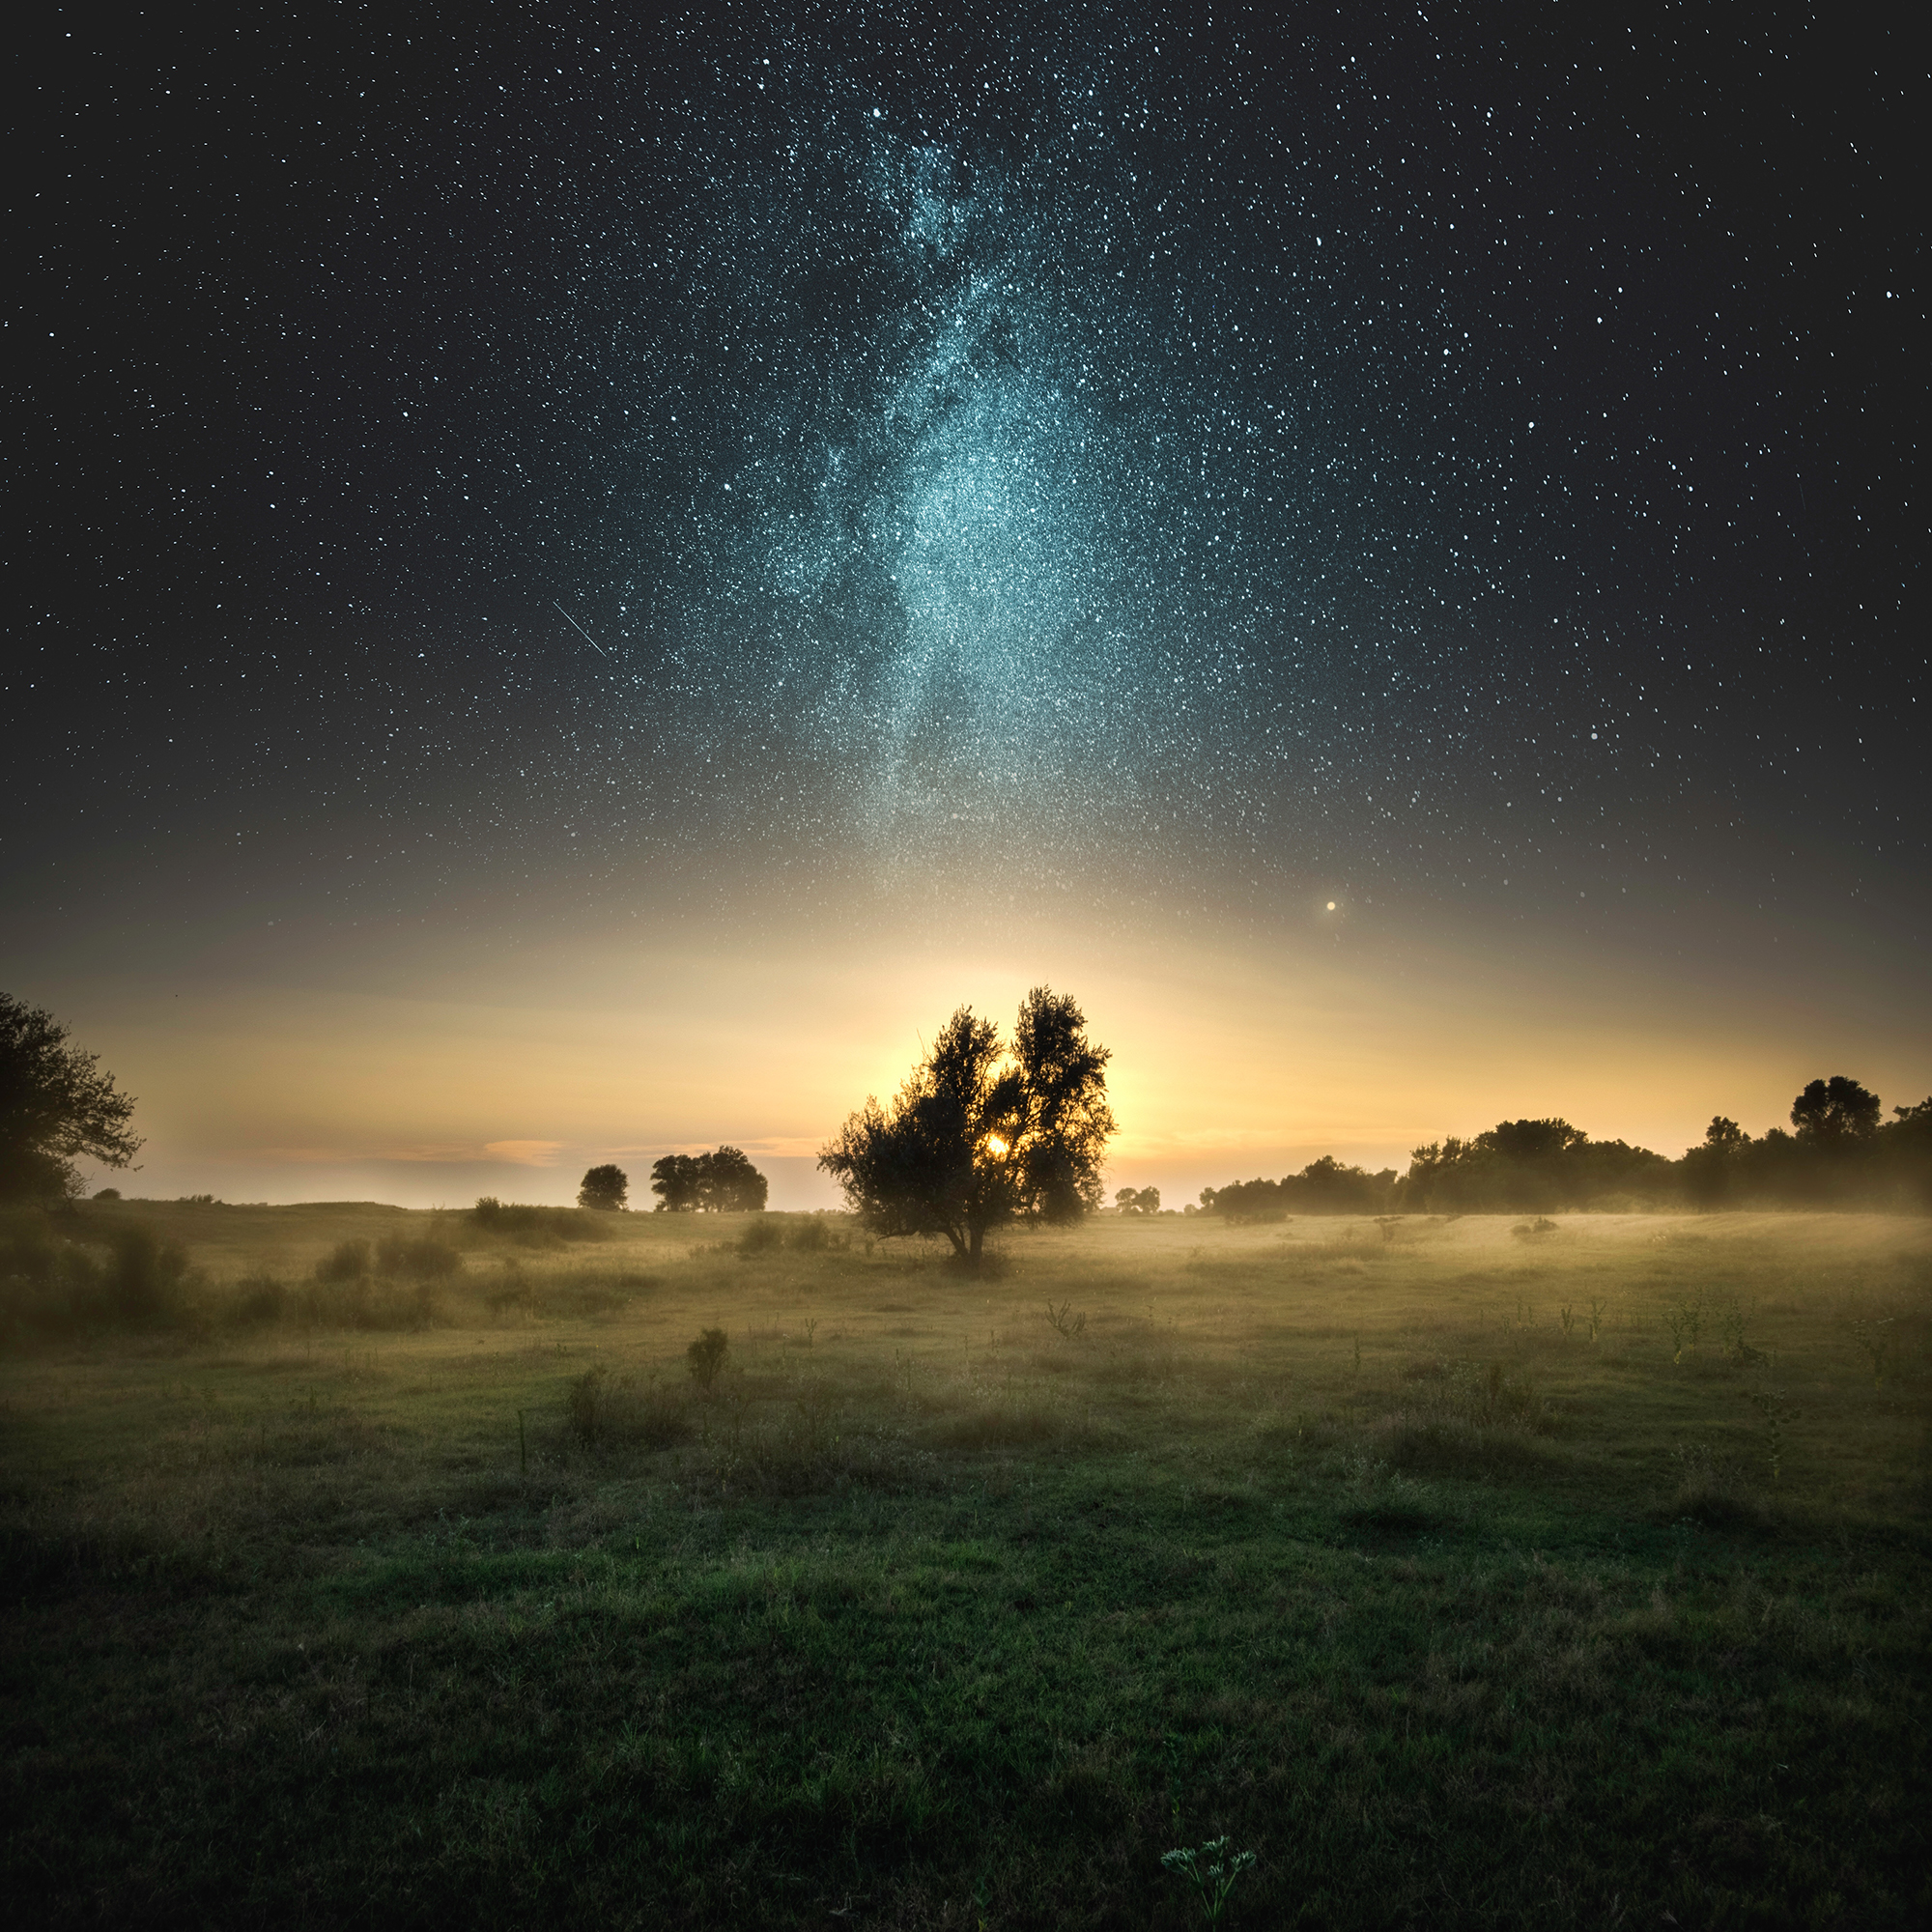
It’s Friday and we would like to share this fun tutorial from Adobe in collaboration with photographer named Jaxson Pohlman. It’s about creating a composite dreamscape using two photos in Photoshop. As most of us like photography, it’s always nice to add some spark to your pictures with a simple technique. Let’s take a closer look.
Our friends from Adobe has released an easy step-by-step tutorial by fine art photographer Jaxson Pohlman. You can follow the steps from the Photoshop’s Instagram post and we have stepped them out below in the article as well.
In their words
Step 1
Hey guys! It’s @jaxsonpohlmanphotography here. I’m going to show you how to create a composite dreamscape using two photos in just a few steps. Swipe through to see my mini #Ps_Swipe tutorial!

Step 2
Using sunrise or sunset photos will add some spark to your final creation.

Step 3
Begin by opening the foreground photo in #Photoshop. We are going to mask a portion of the background out to create a smooth transition between the horizon and stars.

Step 4 (Video)
Use the Rectangular Marquee tool (M) and click and drag across the photo. Make sure to select in between the horizon and the top border of the photo. Go to Select -> hold the “Shift” key and click “Select and Mask.” Adjust the edge by dragging the “Feather” option to approximately 200px, then click ok.
Step 5 (Video)
Next, use the Move tool (V), click and drag the selection over to your star photo (background). Make sure the foreground layer is above the star layer. Use the Crop tool (C) to extend visibility. Using the Move tool, drag your foreground layer down to the bottom of the cropped area.
Step 6 (Video)
Duplicate the foreground layer by going to Layer -> and click “Duplicate Layer.” Label it as “no. 2” and click Ok. Select the original foreground layer. Go to Edit -> “Free Transform” and increase the vertical size. Double click to confirm, and then drag the photo down so that is transitions smoothly into the stars.
Step 7 (Video)
Using the Brush tool (B), we are going to add a bright star to make the transition between the horizon and sky feel a bit more real. Click the Brush Preset picker and adjust to 25px with a hardness of 50%. Change the mode the “Lighten” and have an 85% opacity and flow. Select the duplicate layer “no. 2” and apply the brush where the horizon fades into the stars.
Step 8 (Video)
After applying the brush to create a star, we are going to apply a second brush to give a glow to the star. Adjust your brush settings to 175px, 0% hardness, 50% opacity, and 25% flow. Apply this brush over the star just created.
Step 9
Add final touches such as exposure, contrast, color balance, etc. And that’s how you can create a simple composite dreamscape!

More Links
- Check out Jaxson Pohlman’s site: jaxsonpohlman.smugmug.com
- Follow Jaxson on Instagram
- Learn more Adobe Photoshop Blog: blogs.adobe.com/photoshop
AoiroStudio
Aug 04, 2017
Source: Abduzeedo Tutorials
0 Comments
Leave A Comment