
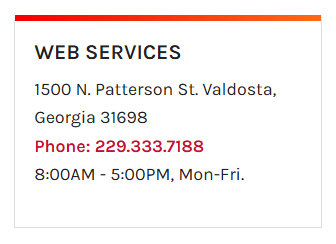
With the recent announcement that new operating hours are coming down the pipeline, it is time we looked at updating our department’s information in Cascade CMS. Specifically, we will be updating the information on the right side and beneath the navigation on most department pages (shown in the image to the left).
This department information serves a lot of purposes! It lets students, faculty, and staff quickly contact the right people when they have questions. It also allows degree/program pages to automatically update their own department information. It is important to keep this information current and relevant.
INTRODUCING: THE _INFO FILE
Department information is not edited on the page level. It would be tedious to have to edit every single page in your folder(s) whenever you needed to make a department-wide change! Instead, this information is edited in a single file called _info that covers all of your pages. You can find this in your department’s main folder. If your department’s main folder does not have an _info file, contact Web Services and we will install one for you.
If your department’s main folder does not have an _info file, contact Web Services and we will install one for you.
MODIFYING DEPARTMENT INFORMATION
Editing this _info file is very easy; it is very similar to editing a normal page. Simply click Edit and you can begin making changes immediately. If you collapse the main sections on the edit page, you will see two main areas: Department Information and Ad Button.
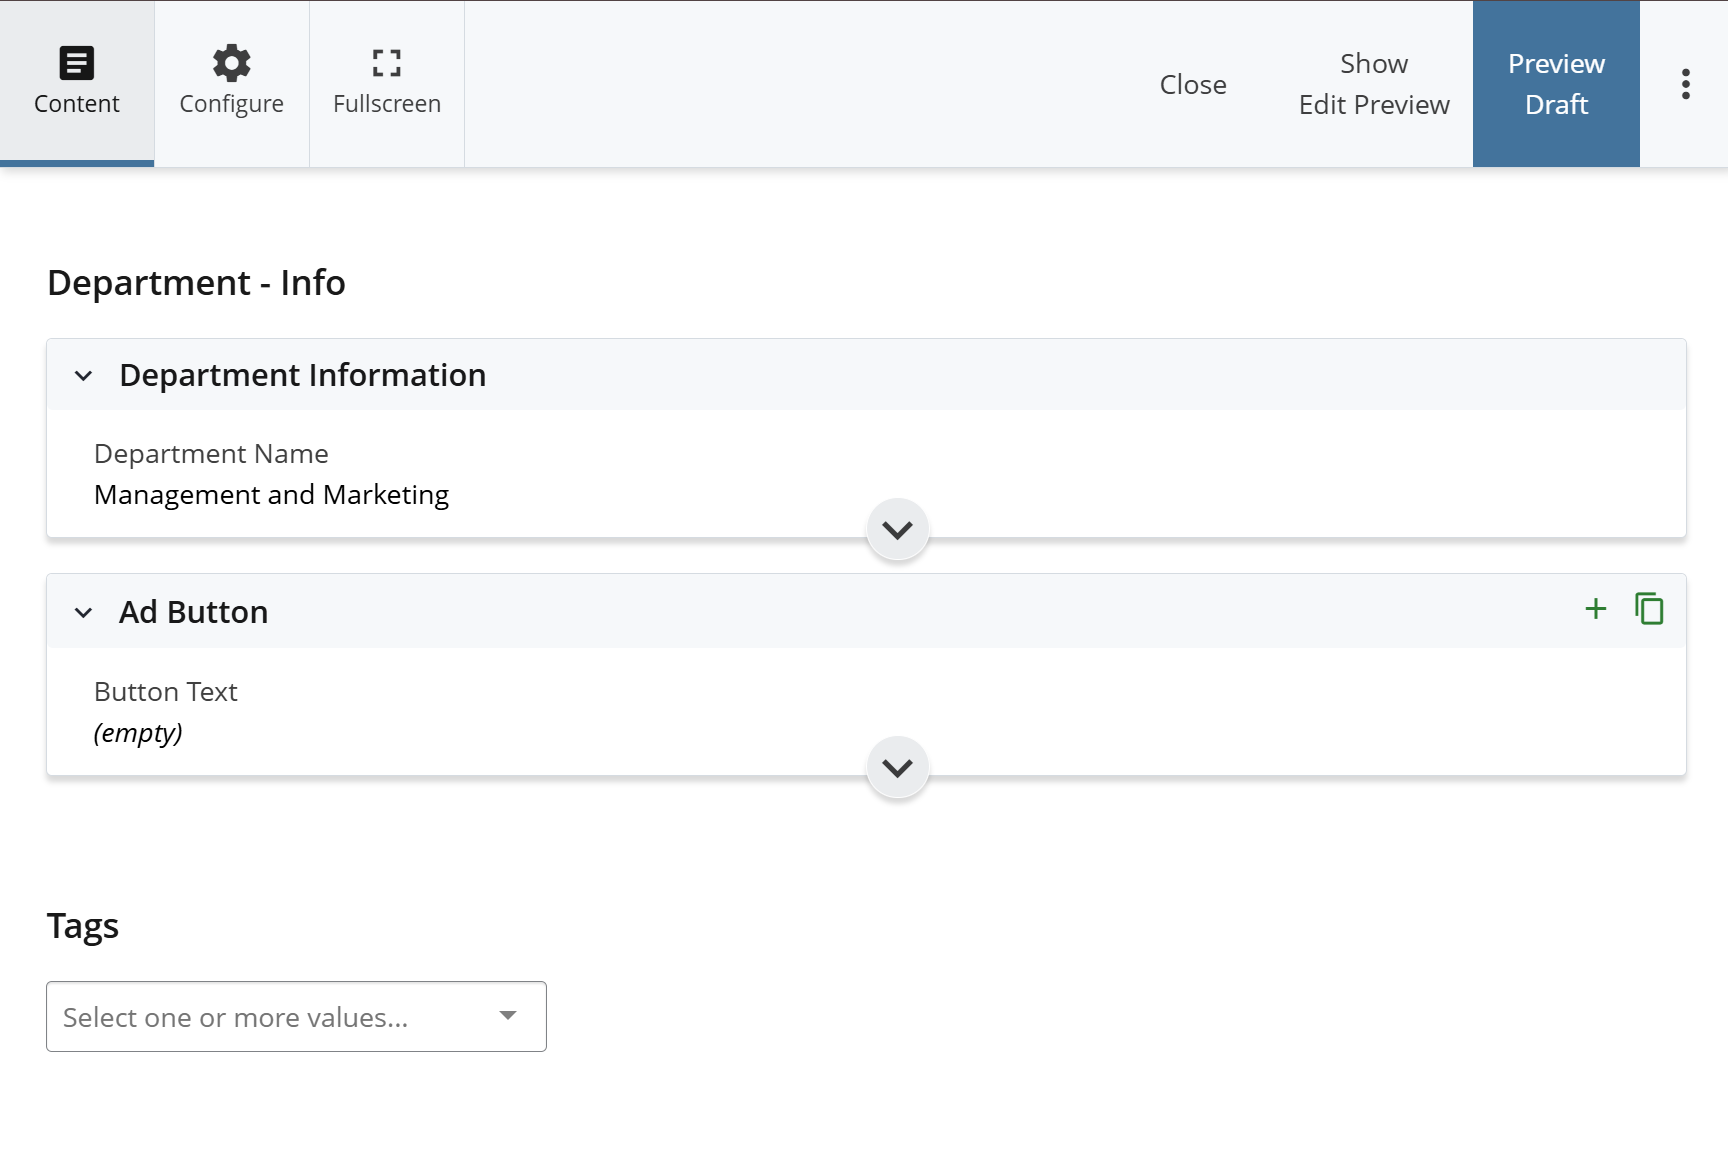
1. Department Information
The Department Information section contains all of the relevant information needed to find and contact a department. Everything from the department’s contact page, phone numbers, addresses, operating hours, and department social media can be found here.
Just like with a normal Cascade page, you can edit the fields and then submit the changes. After submitting the changes, you can navigate to a page in the same folder or in a subfolder to see how the changes you made to the _info file appear on the page.
2. Ad Button
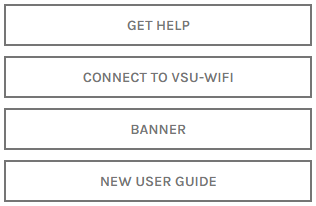
The Ad Button section contains the buttons that sit directly on top of the right navigation list on your page (shown in the image to the left). You can add up to 4 buttons with the _info file and they will automatically be placed on all the pages in your department folder.
These buttons are also called Call-To-Action (CTA) buttons. They are typically located very high up on the page, which means they should be used for relevant and important content that your users will need to access quickly. A popular setup that fits most departments is a Contact Us form, an “Our Team” page, and 1-2 services that department provides.
FINISHING UP AND PUBLISHING YOUR CHANGES
Once you have added the necessary information, you can submit the changes. Your department’s _info file is not a publishable file. You will encounter an error if you attempt to publish it. All you need to do is submit it!
After submitting the changes to the _info file, review a page inside your department folder or a subfolder to review how they appear on the page. If everything looks good, you can begin publishing the pages in your department’s folder. To save time, you can simply publish the department folder itself. However, you should only do this if you made your outdated content unpublishable. We will cover content publishability in another post.
Changes will appear on the website within a couple minutes after you’ve published. Congratulations, you’re done!